Lexus ES350 2014 Infotainment Navigation Mirroring System VLite / VLine Install - car stereo removal guide.
Installation guide of VLine / VLite infotainment, navigation and smartphone mirroring system into Lexus ES350 2014, factory car stereo removal guide.
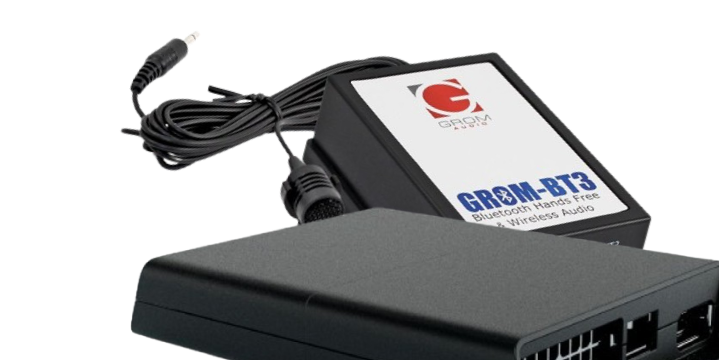
This article describes how to install VLine Lite (VLite) smarphone mirroring system into Lexus ES350 2014.
The same steps apply to the installation of VLine Infotainment and Navigation System into Lexus ES300h ES350 vehicles.
This article is made possible and reposted with the permission of the original author, Lexus Club user hypervish.
Disclaimer: We are not liable for any damages acquired during your installation process. If you are not sure in
your ability to perform the installation please seek the help of the professional.
Tools Needed:
- 10 mm socket wrench
- Philips Screwdriver
- Plastic trim removal tool
- (Optional) Microfiber clothes or a towel - to help protect the interior
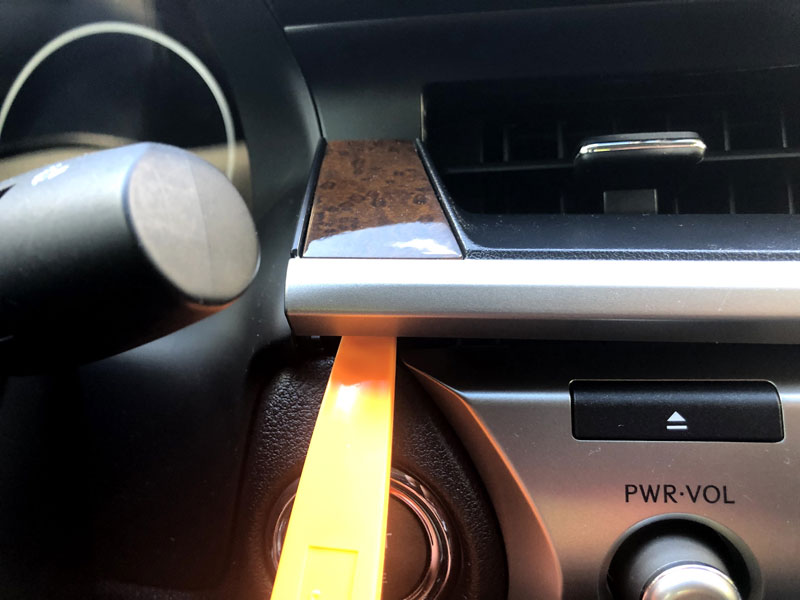
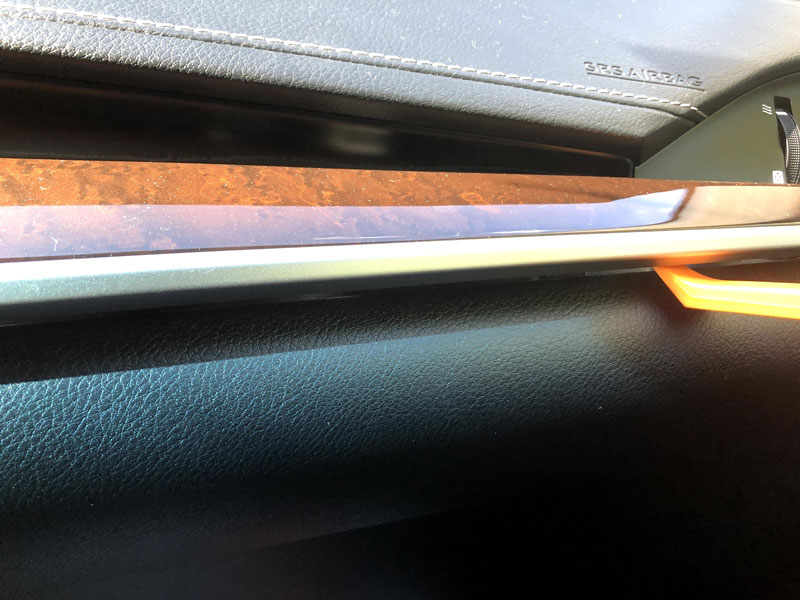
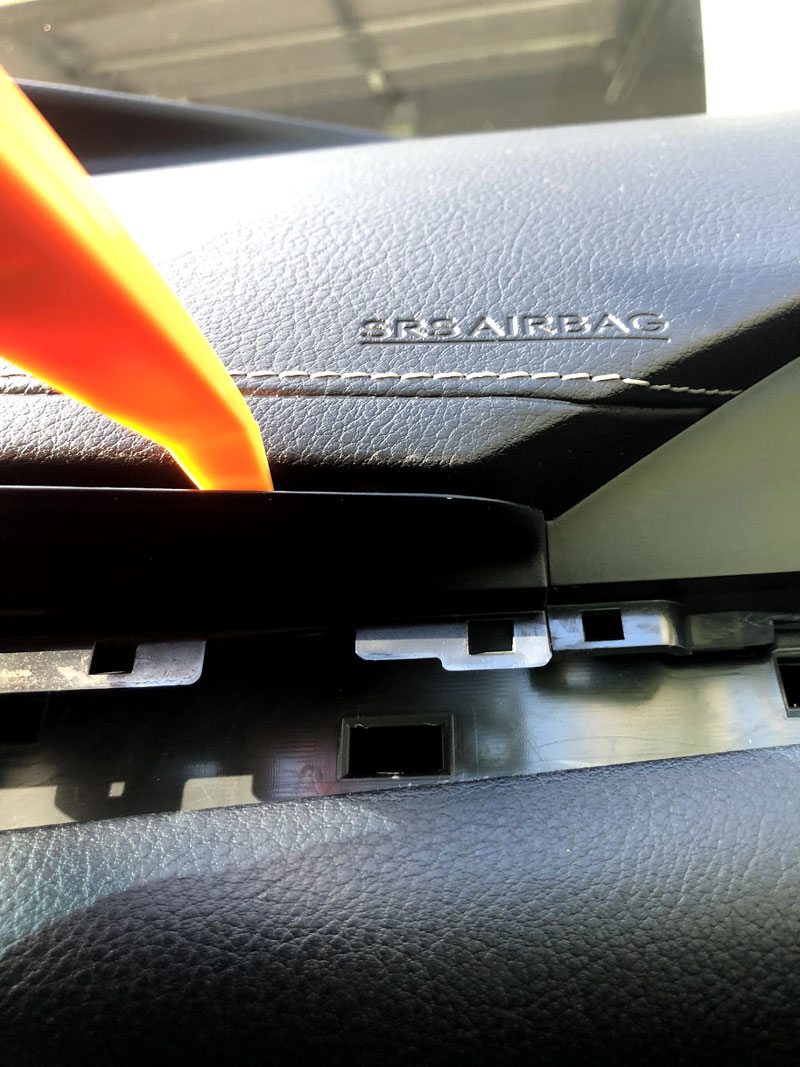
Step 1:Remove the wood trim above the glovebox. You will want to start prying from the top left corner with a plastic trim removal tool and then use your fingers or the plastic tool to gently pop the clips along the entire trim piece.
Step 2 : Now we will remove the vent/clock trim! I chose to start from the right side of the dash as it was easier to pry with the plastic tool. The clips are a bit tight so dont be afraid to exert a decent amount of pressure here. Once you pop the first clip, slowly work your way to the left popping the clips off with your fingers as you go.
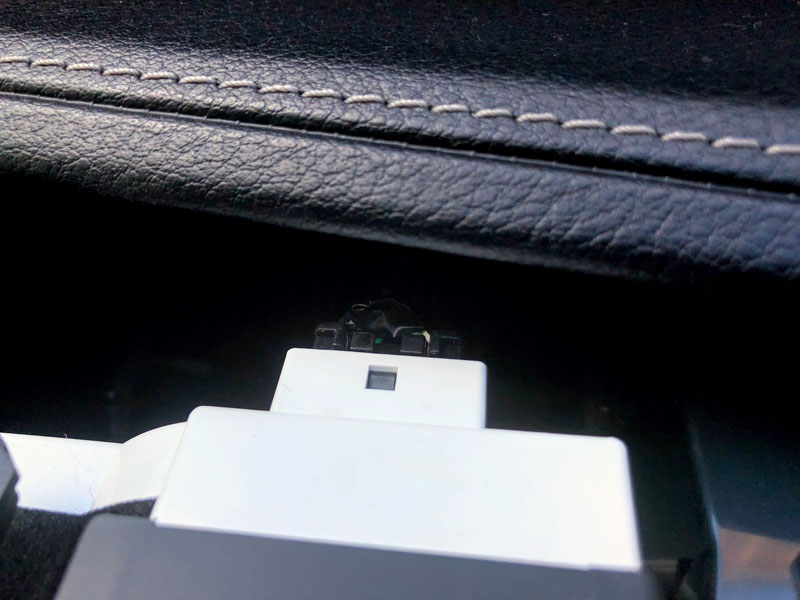
Step 3 : Unplug the clock by depressing the small clip in the middle of the connector.
Step 4 : Now we will remove the trim piece below the radio/climate control panel. I started prying using the trim removal tool from the bottom right corner and then used my fingers to gently pry the rest of the trim off. The trim piece comes straight off as you can see by the clips.

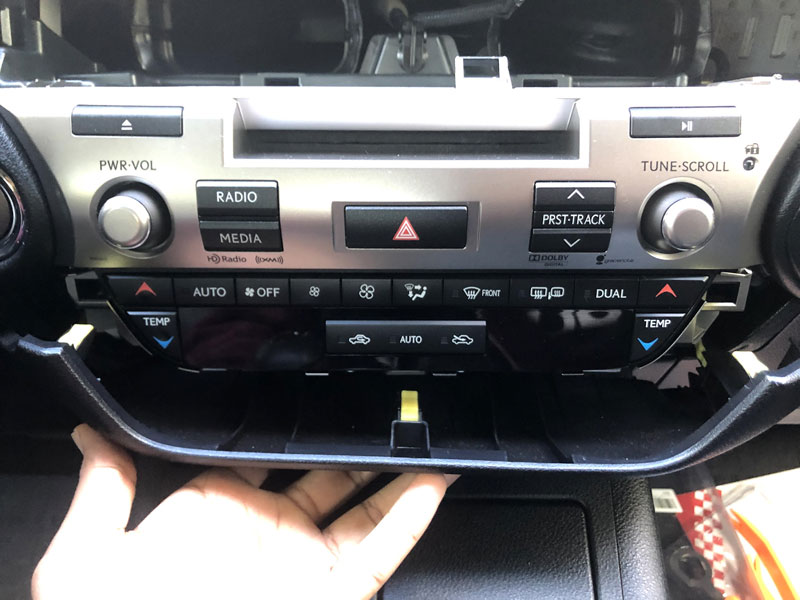
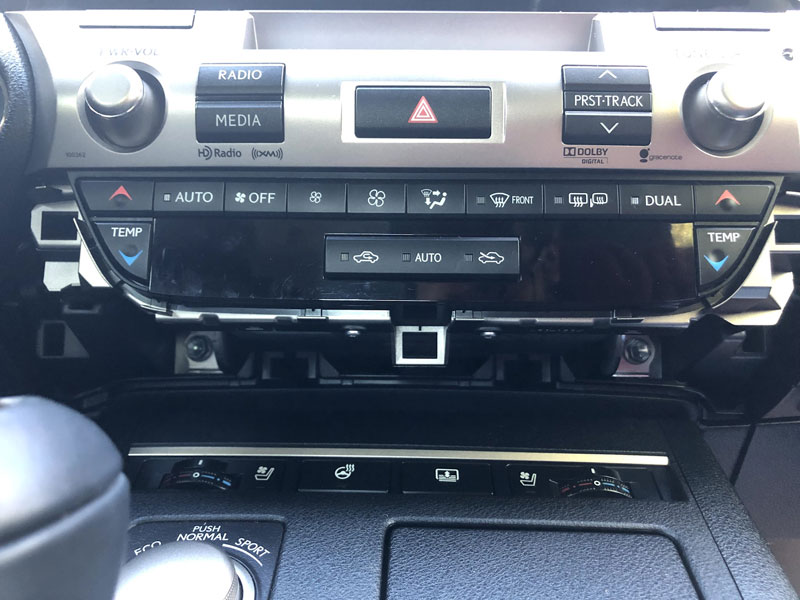
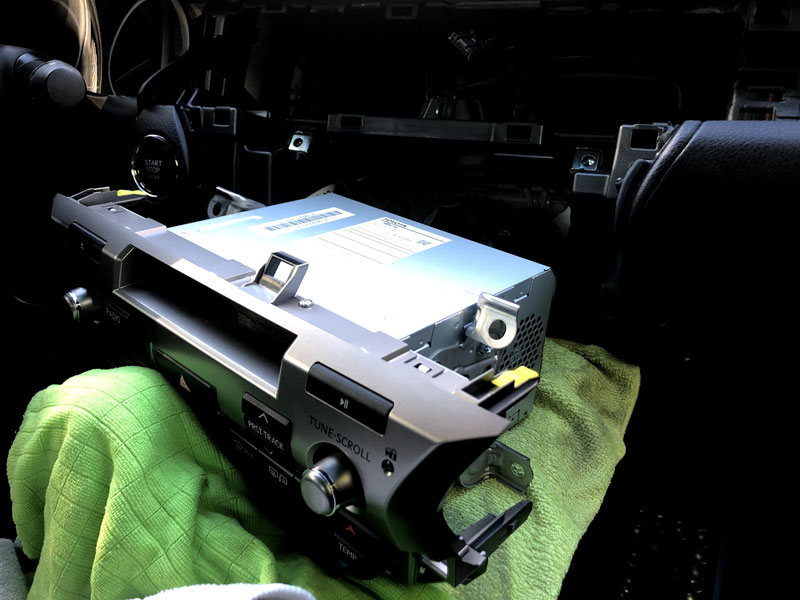
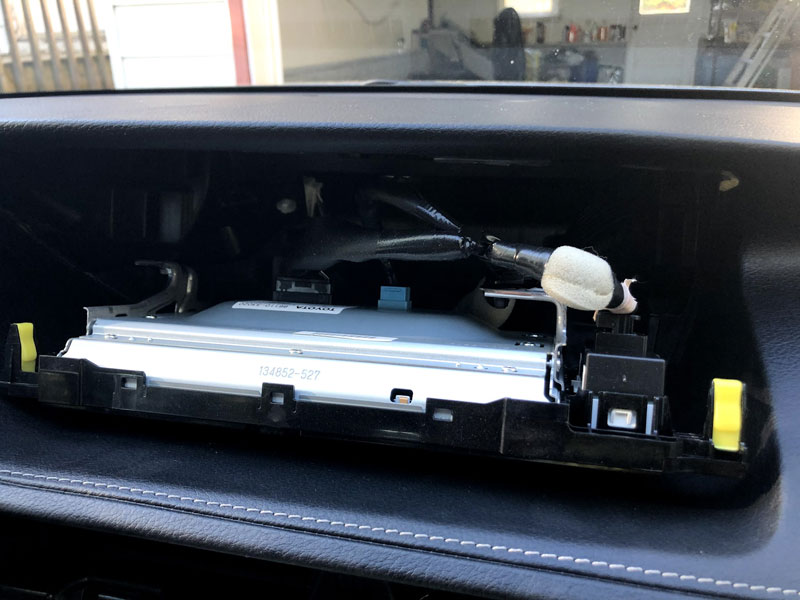
Step 5 :We will now unbolt the radio/climate control assembly. There are two 10 mm bolts on the bottom side of the radio, as well as two 10 mm bolts on top - both of which are visible below.
HINT: Now is a good time to lay some Microfiber towels down on your center console, and make sure to put plenty. I only used 3 of them and that turned out to not be enough. The assembly has really sharp corners and it still managed to mar a tiny bit of the cup holder cover through the microfiber towel. If you have a movers blanket from Harbor Freight, now is a good time to use it!
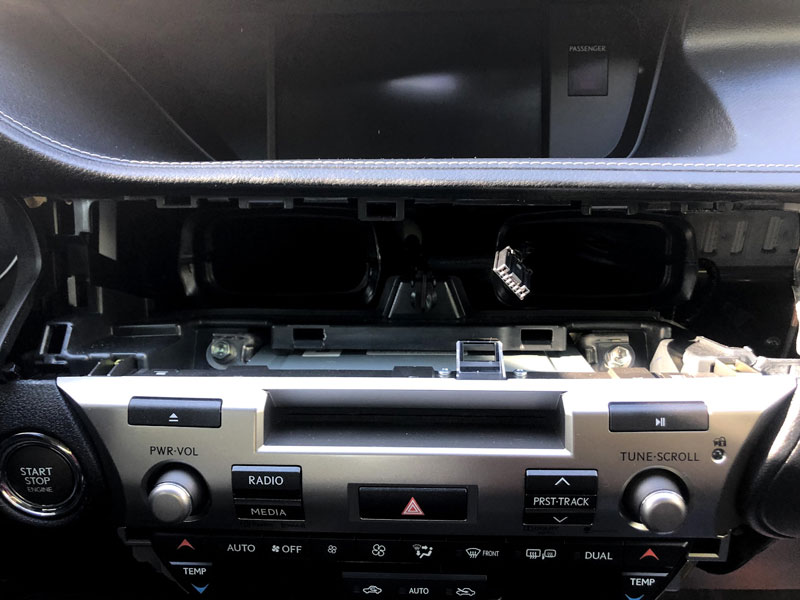
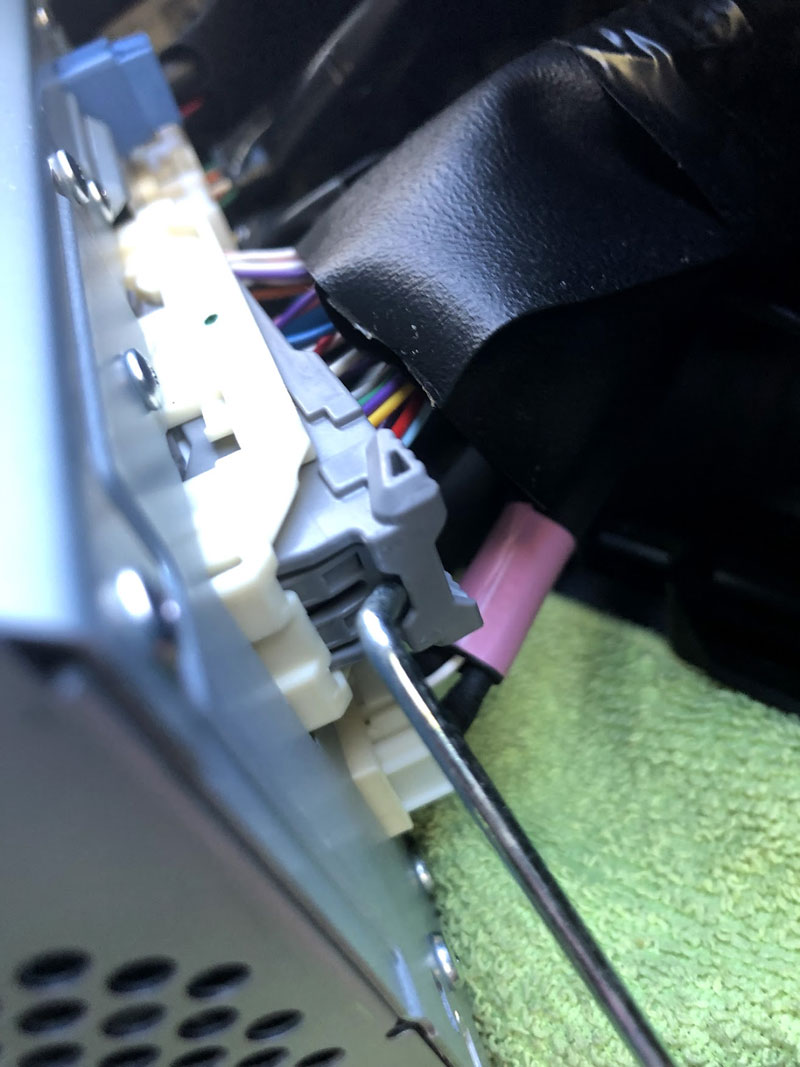
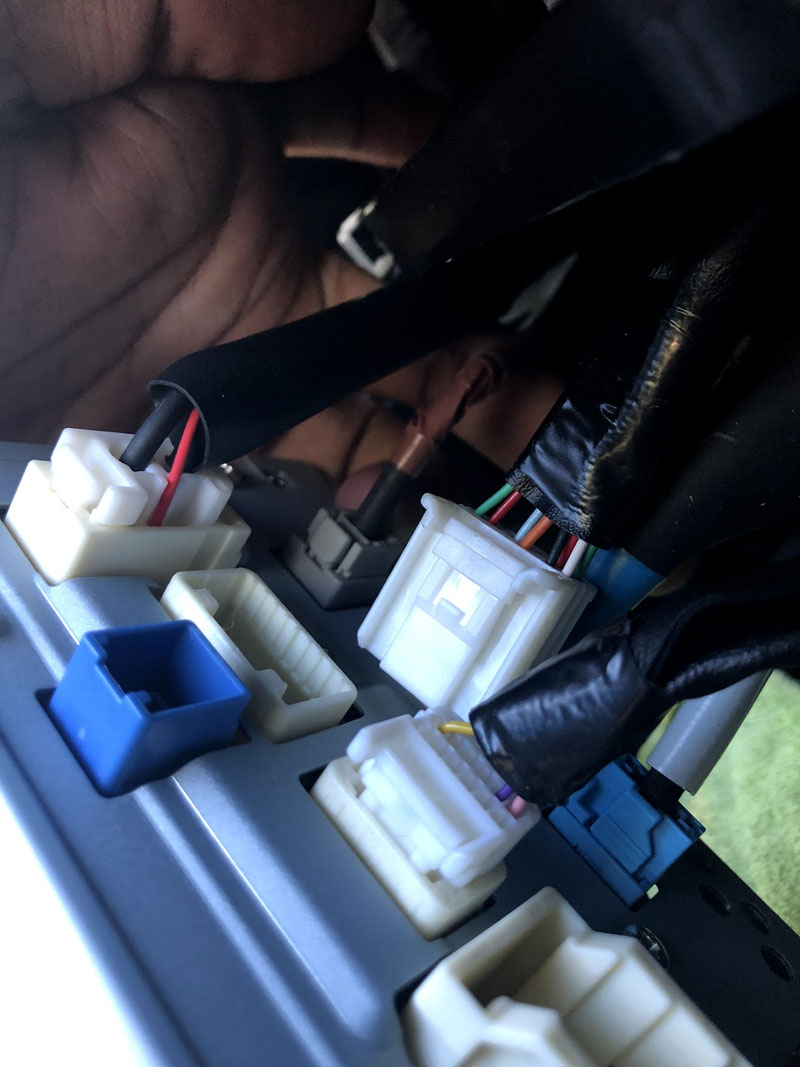
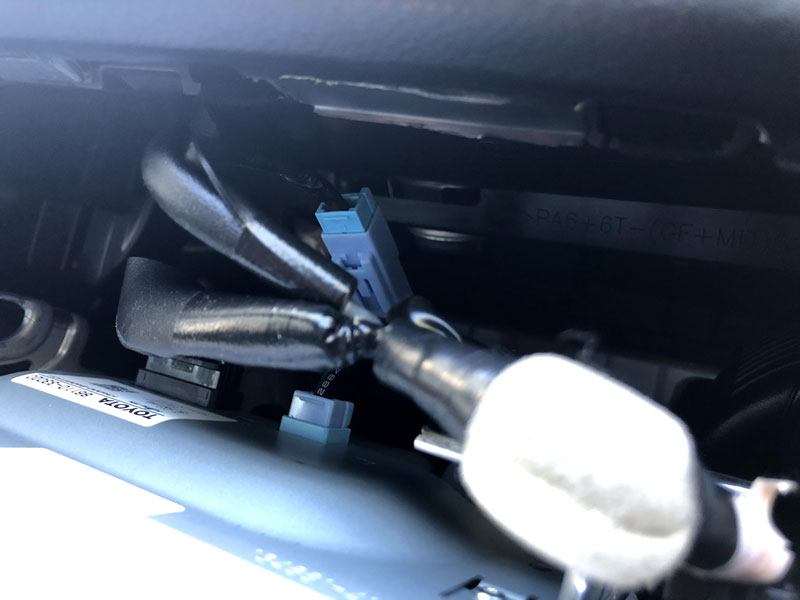
Step 6 : Once you have the radio out of the dashboard cavity, it’s time to locate the 59 pin connector (it’s the biggest one, should be easy to spot). Once you find it, depress the gray pin on the side to release the clip holding the connector in place, as shown in the picture. Plug the OEM harness into the GROM harness and then plug the GROM harness into the radio.
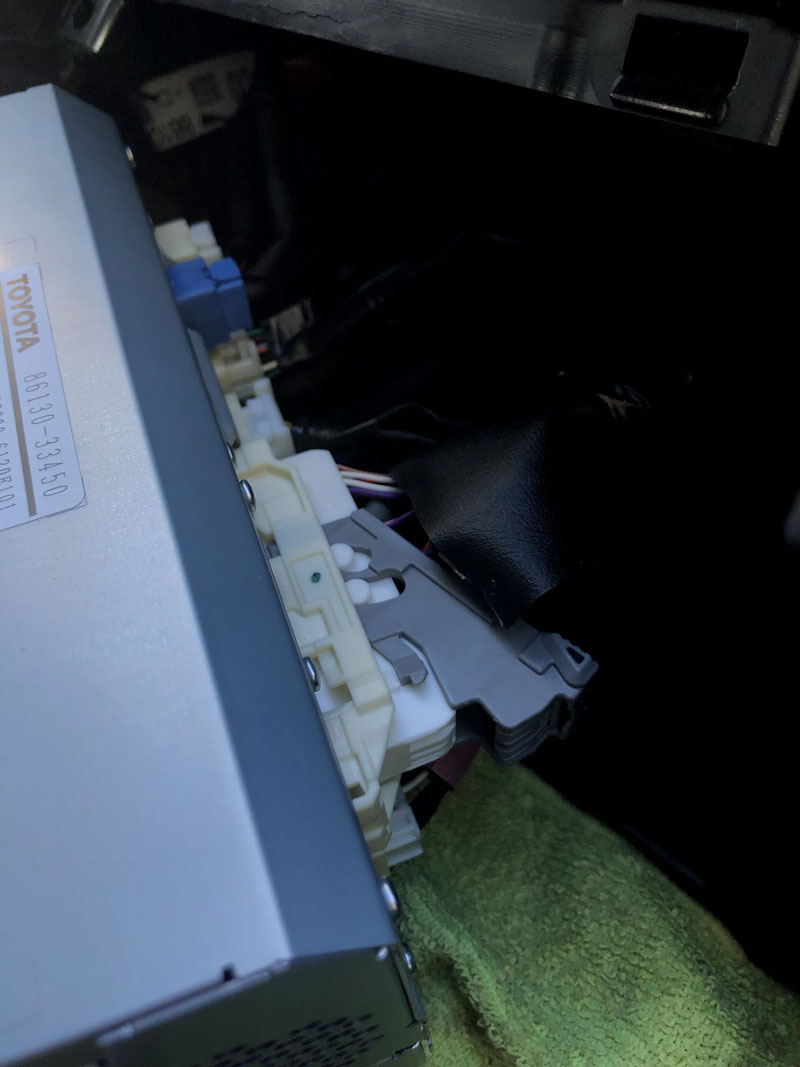
Step 7 : Let’s now locate the smaller 16 pin connector, below and to the right of the larger connector. Once you find it, depress the small pin on the top of the connector to disconnect it from the radio. Go ahead and plug the OEM harness connector into the GROM connector (same procedure as earlier) and then plug the other end of the GROM connector into the radio.
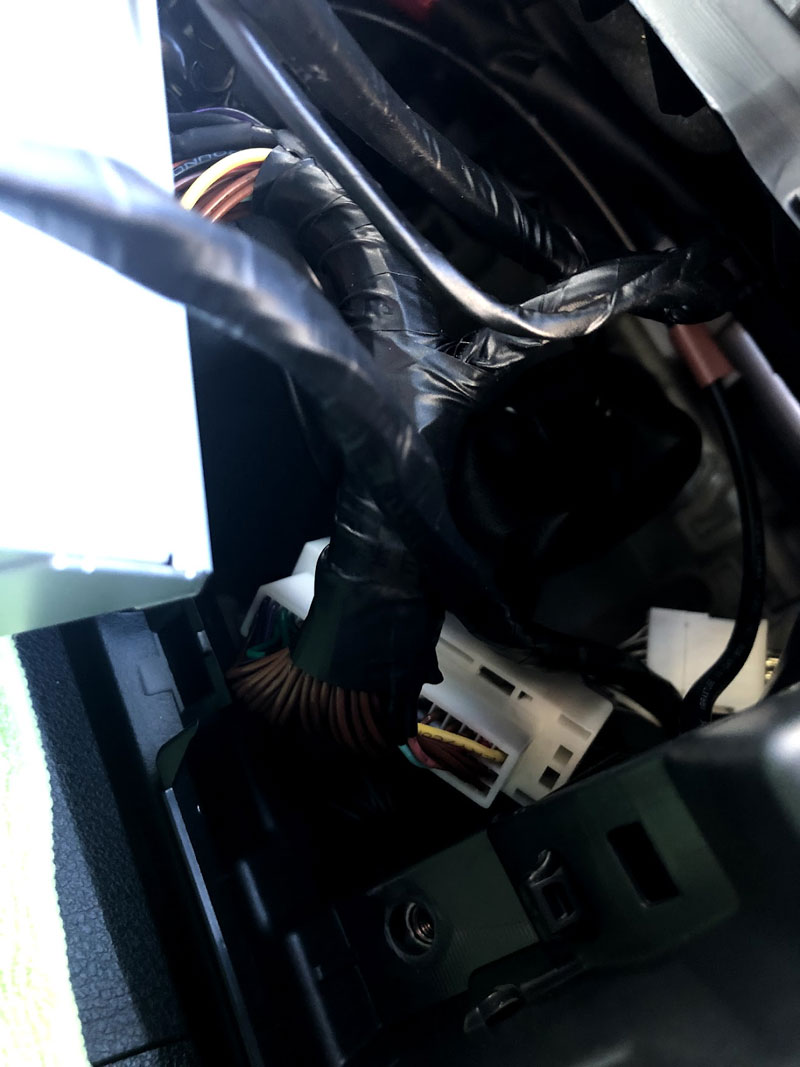
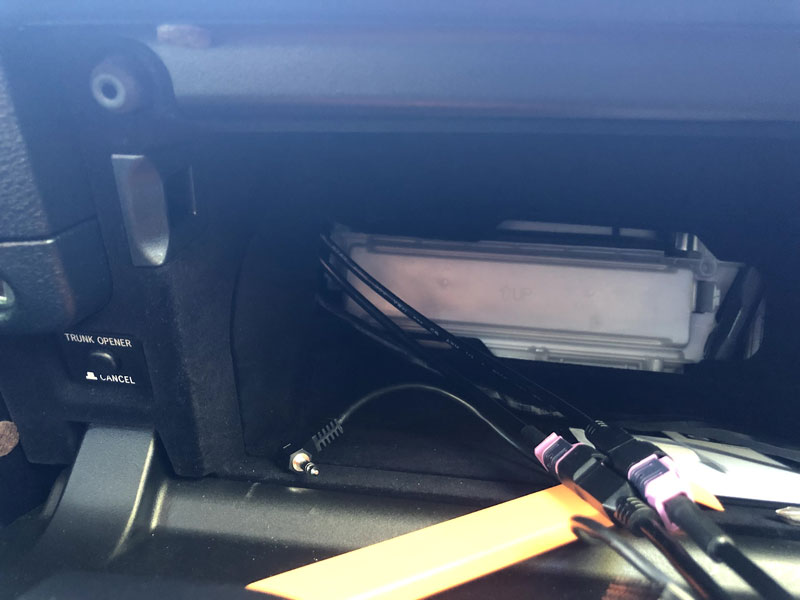
Step 8 : Now is a good time to pull the other end of the GROM harness into the glove box as we are now done with all the connections required behind the radio. I chose to remove the cabin air filter door completely as well as the glovebox shelf, and pulled the wires in through there.
You can also gently place the radio/climate control assembly back into the dash cavity. I chose not to screw it in yet until the install was complete and I could test it out.
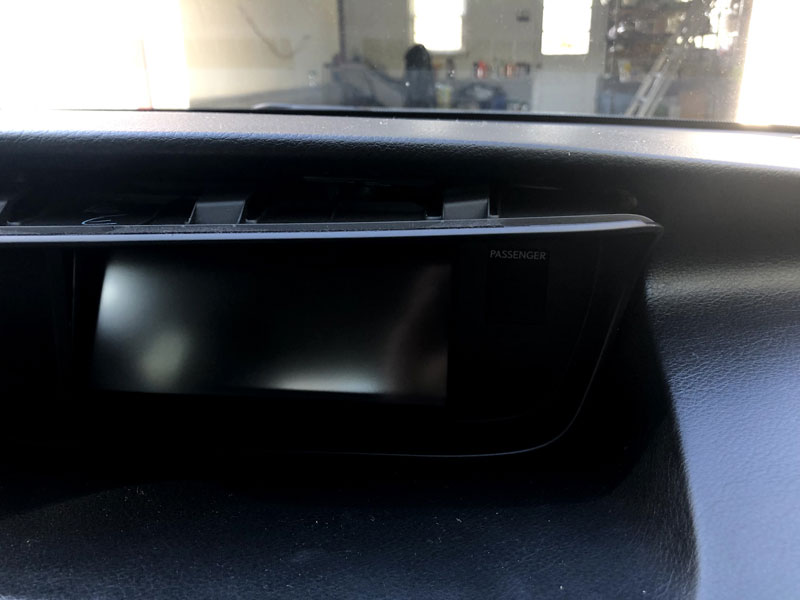
Step 9 : We’re now moving onto the Display itself. To begin, we’ll need to remove the plastic trim around the display. It’s held on by two push pins. Just pull out the middle portion of the pin using a small flat screwdriver and the rest of the pin assembly should come right out. Once the pushpins are out, the trim bezel will just pull straight out of the way!
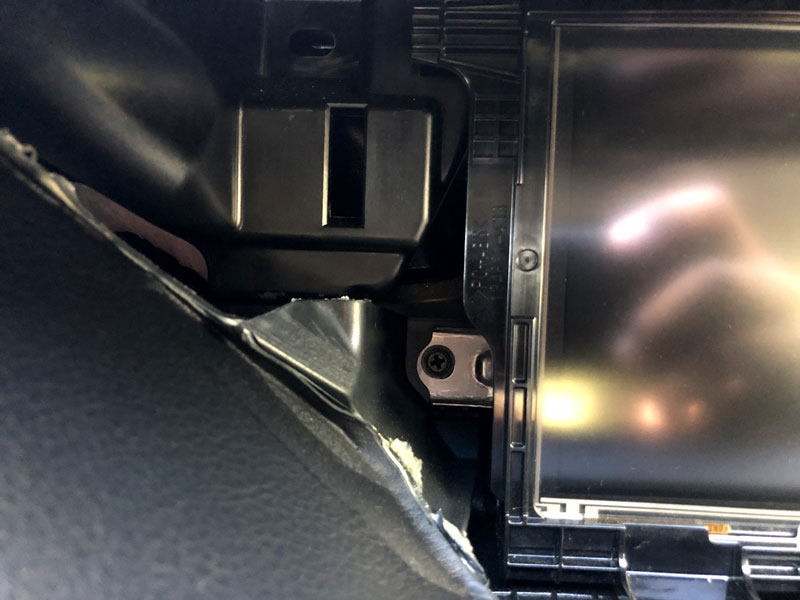
Step 10 : With the bezel out of the way, you should now be able to locate the two philip head bolts holding the display in place. Go ahead and remove both of those! The display is also held in with two clips on the top left and top right side; gently pry the display out and the clips should unlatch by themselves.

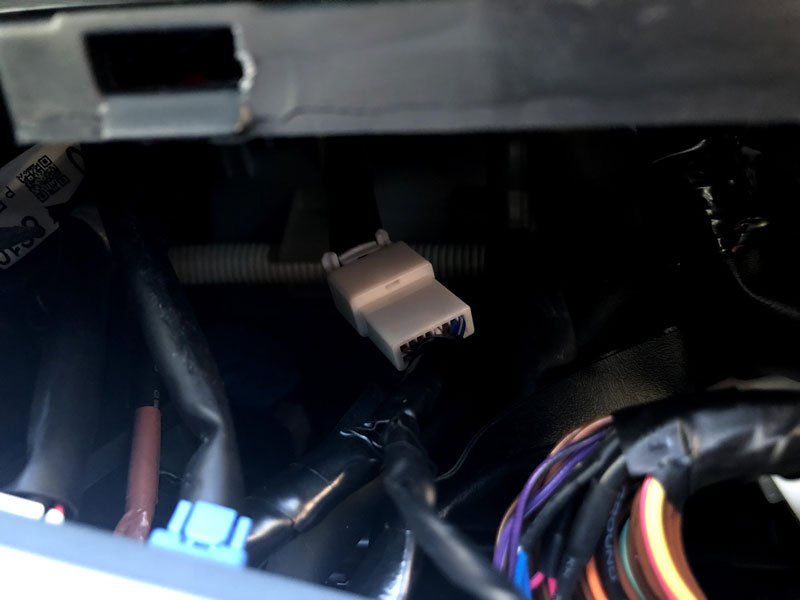
Step 11 : You should now be able to locate the blue video display port on the back of the display. You can disconnect that by press the small pin on the top of the connector. Once disconnected, go ahead and plug that into the GROM harness and the male end of the GROM harness into the display (similar to what we’ve done earlier).
You can also route this DisplayPort cable into the glovebox, as you did with the other harness.
And that is it!
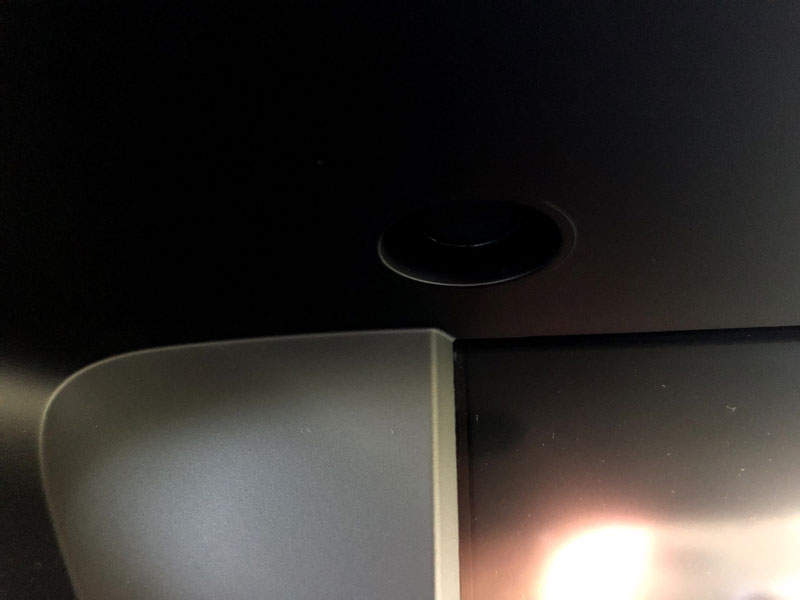
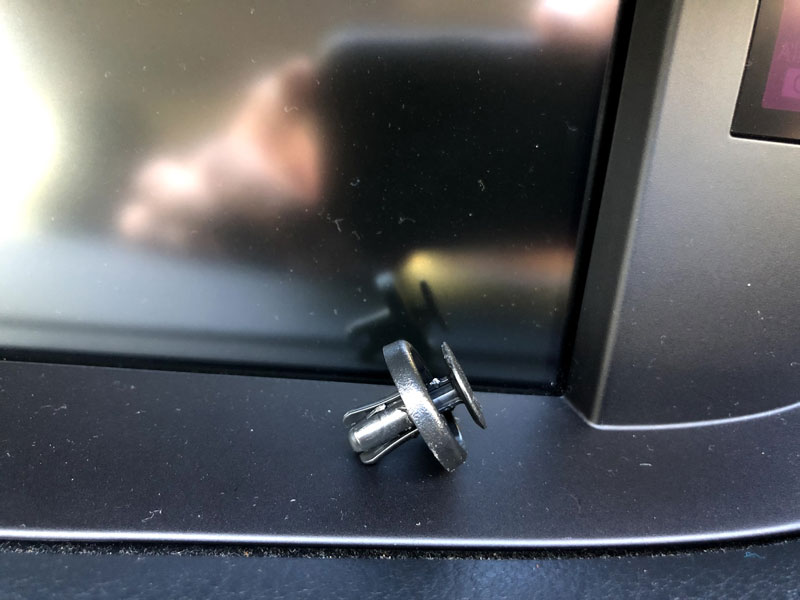
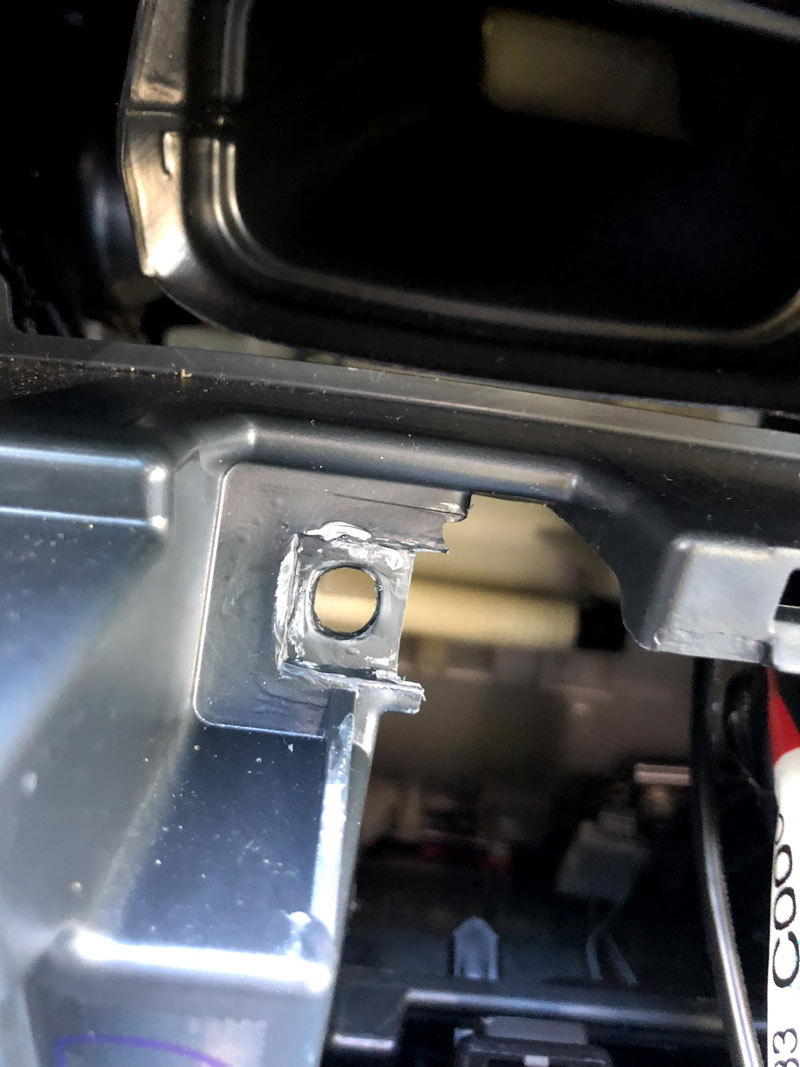
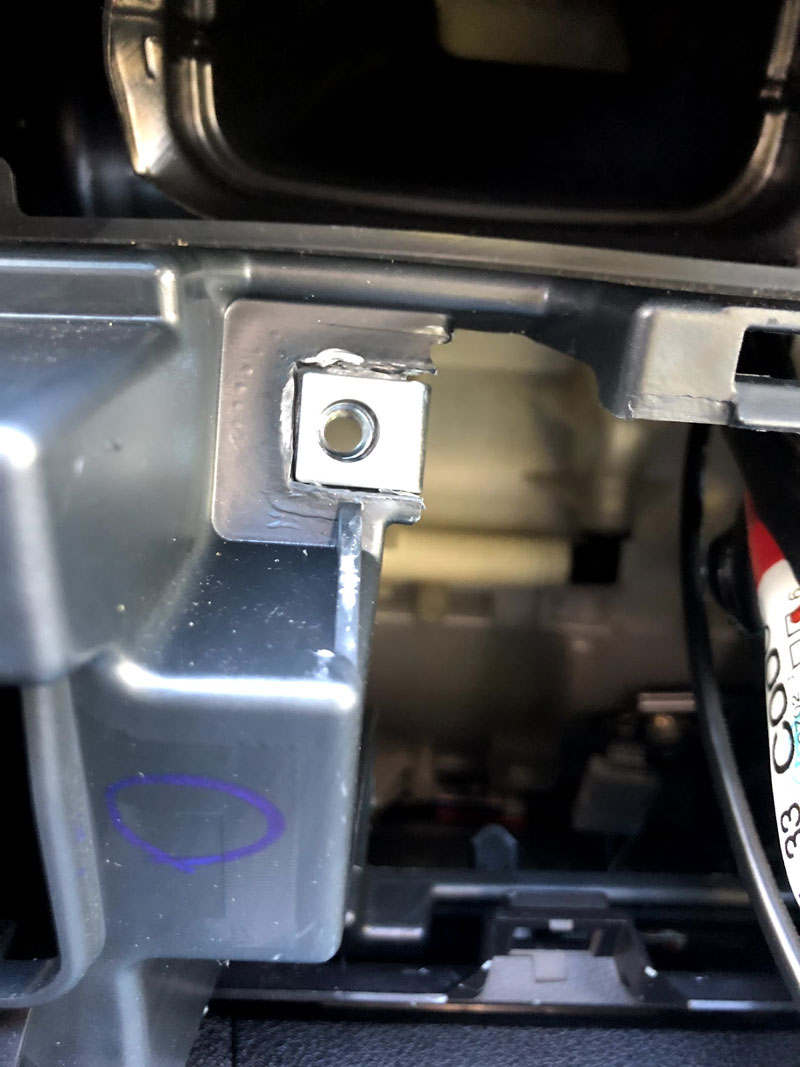
Also, a quick word of advice, when you go to bolt in your radio/climate control assembly again; please make sure your metal inserts for the bolt threads in the dash don’t fall off. At some point during the install, one of mine fell off and I didn’t realize till I went to install the bolt again. Luckily, I found it lying nearby in the dash cavity. For picture reference, the first picture shows the metal insert missing and the second picture shows it with the piece installed:
Overview video of GROM VLite (by hypervish):
VLine Infotainment System functionality overview:
More information about VLine is available at https://gromaudio.com/vline/index.html